The first thing you should do in Starfish is set up your Profile. This is the information that can be seen by all students, not just your assigned advisees.
1. Click the Navigation bar (three horizontal lines, top left corner).
2. Click on Your Name to expand the menu, then click Edit Profile.

3. Your name, username, and institution email are all imported into Starfish automatically (name and email can be changed via MyUW > Personal Information, and your username is your NetID). However, you are encouraged to upload a headshot photo to help students put a face to you name. Square images are recommended.

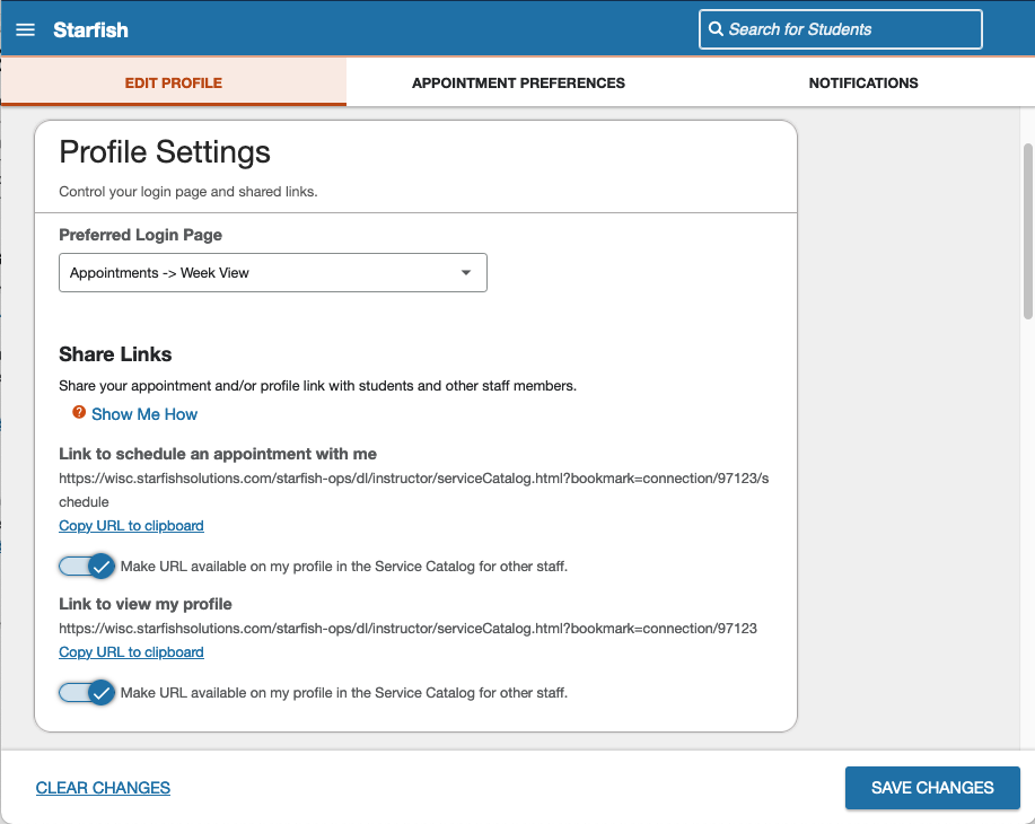
4. Choose your Preferred Login Page view – think of this as your Starfish “homepage.” If you’re not sure, try “Appointments -> Week View”. Next, go down to your Share Links and enable “Make URL available on my profile in the Service Catalog for other staff” for both. This will enable your colleagues to copy these links from your Starfish profile.
5. Enter your contact information.
- As before, your username and institution email are locked down because they’re imported into Starfish.
- Add your office number under Phone. Do NOT enter your cell phone number, as all students at the university will be able to see this information.
- We recommend against entering anything for video phone, because video interactions are expected to take place via scheduled appointments.
6. Make sure that your Time Zone is set to (GMT-6:00) Central Time, even if you are temporarily located in another time zone.
![Edit Profile contact information settings: - Username [locked] - Institution Email [locked] - Phone - Cell Phone [blank] - Video Phone [blank] - Time Zone [Central Time]](https://oacs.wisc.edu/wp-content/uploads/2022/01/edit-profile-3-contact-info.png)
7. Fill in your About section.
![Edit Profile "About" settings: - Title [Enter a student-friendly working title here] - My Biography [If you'd like, you can use this space to talk about yourself and your background.] - General Overview [Use this field to describe the services you provide to students. What you write here will help students decide whether or not they should meet with you.]](https://oacs.wisc.edu/wp-content/uploads/2022/01/edit-profile-4-about.png)
Enter a student-friendly working title. For example:
- Career Exploration Center Advisor
- L&S Academic Advisor
- Biology Major Advisor
Tell students how you can help them under General Overview. Keep this short, simple, and in student-friendly language. We recommend a 300 character limit.
Example:
I serve as an academic advisor for the XYZ major in the College of Letters and Science. I meet with both declared students and those who would like to learn more about the program. My calendar usually has enough appointment availability, but if there are no times that work for you then please email me directly at xyzadvising@wisc.edu.
(Optional) Tell students about yourself personally in the My Biography field.
8. Click Save Changes at the bottom of your screen when you are done.
Now your profile is set up and you can move on to Step 2: Set Your Appointment Preferences.