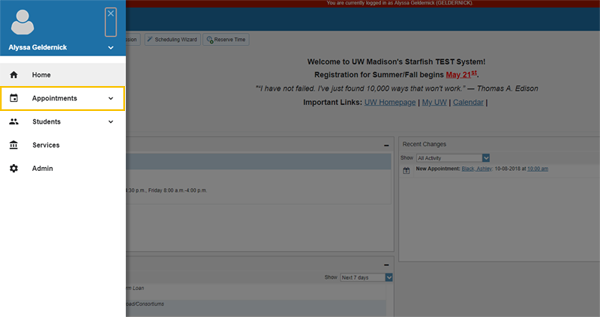
1. Click the Navigation bar (three horizontal lines, top left corner).
2. Click the drop-down arrow next to Appointments.
3. Click Add Group Session.
4. Keep the default My Calendar unless you are a Calendar Manager and are creating this session for someone else.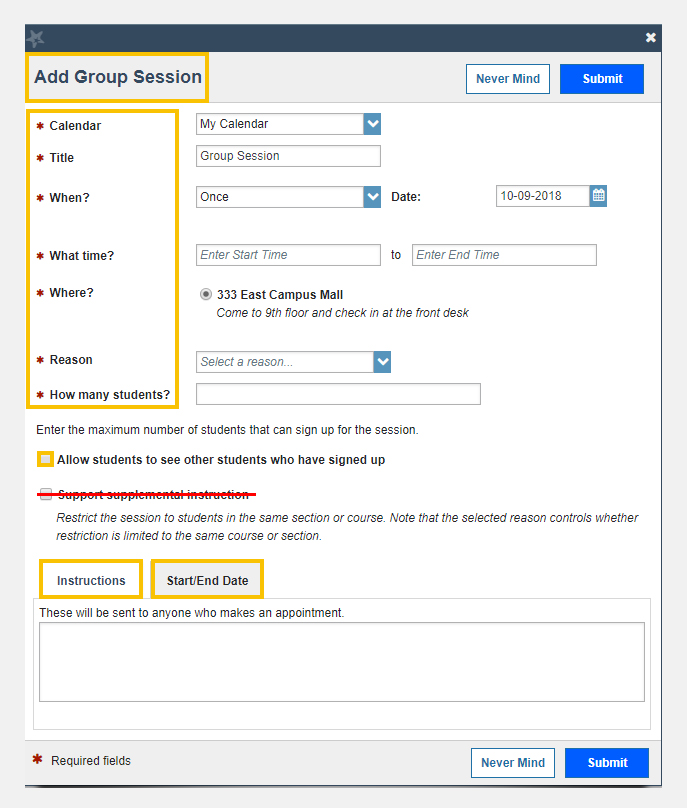
5. Update the Title for this session. Students will see this when they view your calendar.
6. Select When? the group session will occur and add the recurrence if applicable (e.g. Repeats every 1
week).
7. Use the What time? fields to enter the start/end time for this group session.
8. Select Where? the meeting will be held. To add additional location options, go to the
Appointments Preferences page of your profile. Only one location can be selected for a group
session.
9. Select the Reason for this group session. These options are pre-determined based on your role.
10. Enter How many students? (maximum) can sign up for the session.
11. Check Allow students to see other students who have signed up if you want to provide that option. Depending on your role and the type of session, do not check this box if it conflicts with FERPA regulations.
12. Do not check “Support supplemental instruction” – at this time we are not set up to offer this.
13. Enter notes as needed in the Instructions box.
14. Click the Start/End Date tab if you set up the session to reoccur. You must Set an End Date or the session will repeat forever, which is visible to students.
14. Click the Submit button to save your Group Session.